Adding git-bash to Visual Studio 2019 — No Extension Required!
If you’re like me preferring to directly work with the git-bash command-line tool instead of using the Teams Explorer window in the Visual Studio 2019 you probably want to have the git-bash tool be accessible in a second!
- Make sure you have Git installed.
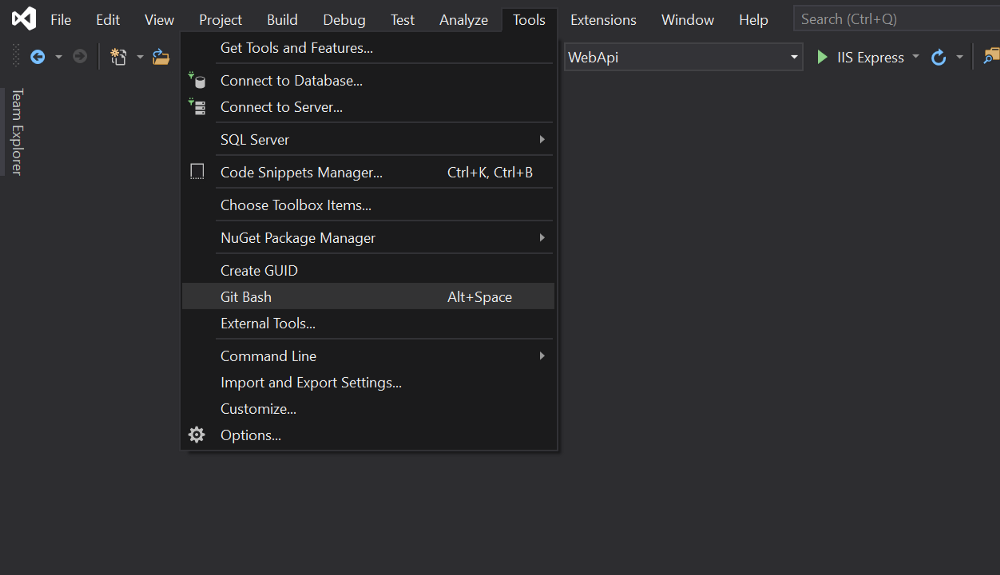
- Open Visual Studio 2019 and go to Tools > External Tools…
- Click on the Add button and fill the fields like this:
- Title: Git Bash
- Command:
C:\Program Files\Git\git-bash.exe - Arguments:
- Initial Directory:
$(SolutionDir)and click on the Ok button.
- From Tools > Options > Environment > Keyboard, enter
Tools.ExternalCommand2(If it’s your second custom external tool) in the text box under the “Show commands containing” and select it. - Then select the text box under “Press Shortcut keys” and press your favorite keys (like Alt+Space) and click on the Assign button and then click OK and you’re done! Now whenever you want to do any deep dive git thing, just press Ctrl+Space and the git-bash command line will appear immediately! Have a happy coding!